AutoRef honors 2019
AutoRef Honors 2019/20
Introduction

- explain intentions
- since we cannot test hardware anymore we had to adapt and switch to simulation
- Problem definition/challenge or leading question!!!
Thought Process
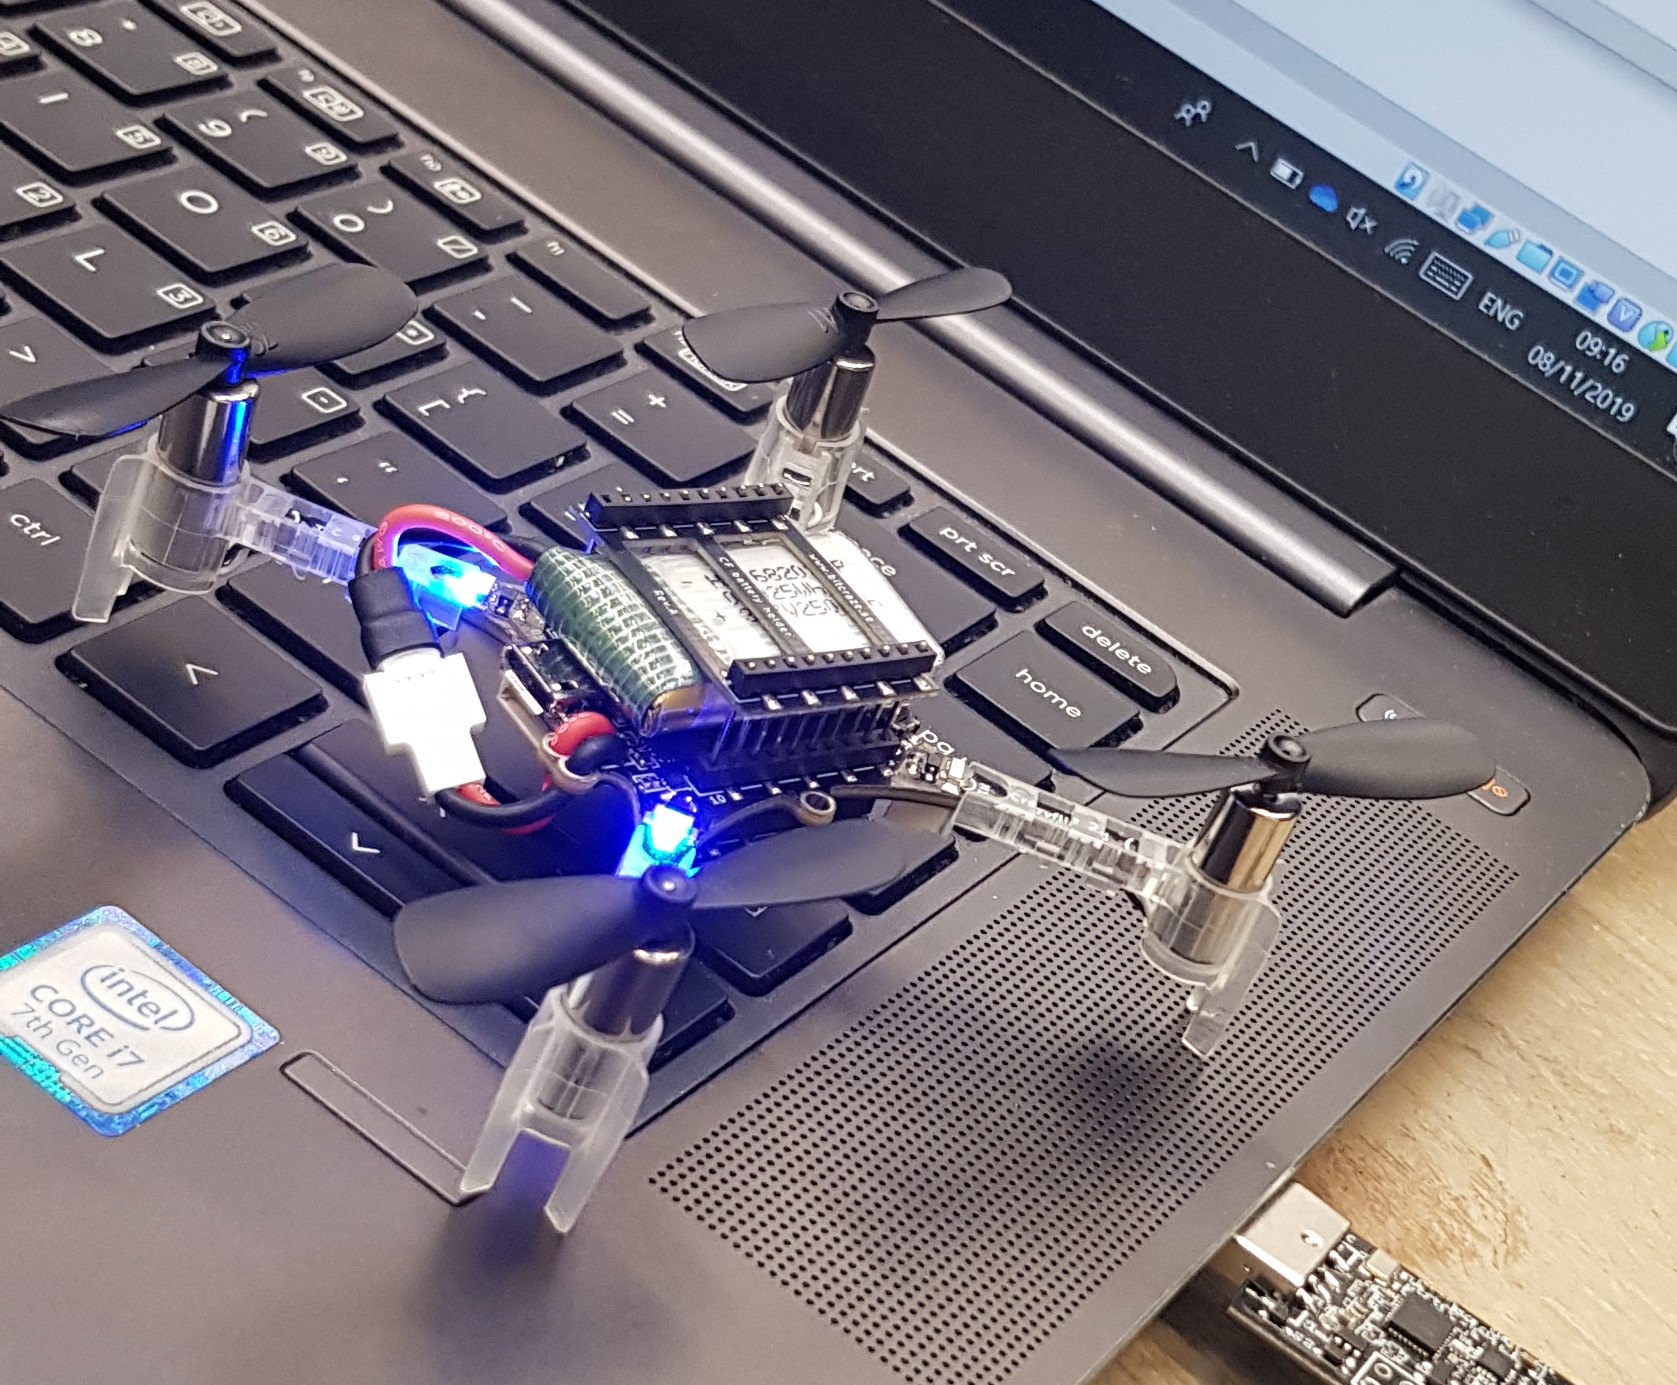
- Research and selection of drone
- Control test + hover mode using flowdeck
- Decision on relative positioning system instead of absolute
- Thinking of implementation of rules
- reflection on midterm presentation
- Motion commands through python script
- Ball detection with python + opencv, tested using digital phone camera and wifi connection
- Test with 2 analog fpv cameras and radio transmission-> issues with image flicker due to noise made color-based ball detection unreliable
- Decision to use raspberry Pi with digital camera for image capture and processing and wifi connection to pc runnning bitcraze client
- Drone upscale: issues with ESCs and controller tuning
- Transfer to Coppeliasim due to quarantine: Drone control + ball and line detection implemented and tested in real game scenario & ROS
hardware
cf bolt flowdeck also pid tuning of bigquad somewhere
Referee
make decisions and present information based on the vision part e.g. hey the ball is out of bounds, the robots are bumping into each other, GOAL!
Simulation
The simulation environment chosen is CoppeliaSim (also known as V-rep), this environment has a nice intuitive API and works great with ROS. In CoppeliaSim each object (i.e. a drone, or a camera) can have its own (child) script which can communicate with ROS via subscription and publication to topics. The overall architecture can be displayed by the ROS command rqt_graph while the system is running. The output of this command will be displayed in the following figure.
implementation

The following text will briefly explain what everything in the figure means according to the software architecture. sim_ros_interface is the node that is created by the simulator itself and serves as a communication path between the simulator scripts and the rest of the system. What can not be seen in this figure are the individual object scripts within the simulator. A script that belongs to a camera object will publish camera footage from the camera mounted on the drone to the topic rawDroneCam. The ball_detector node which is run outside the simulator in a separate python file will subscribe to rawDroneCam and will subsequently get the image from the simulator. It will then extract the relative ball position and size (in pixels) out of each frame and stores it in an object (message type). This message will then be published to the ballPos topic. At the same time, the line_detector node will also subscribe to the drones camera feed and will find the lines in the image using Hough transforms. The simulator node (actually a script belonging to the flight controller object) will subscribe to this the ball position topic, get the position of the ball relative to the drone and decide what to do with this information i.e. move in an appropriate manner. Both the line and ball detection also provide an image of their findings to the node merge_cam. Within this node, those two findings will be merged into one image file that displays the lines found and the ball. This loop will run at approximately 30Hz.
Control of Drone in Simulator
The drone used in the simulation is CoppeliaSims built-in model 'Quadcopter.ttm' which can be found under robots->mobile. This drone uses a script that takes care of the stabilization and drifts. The object script takes the drone's absolute pose and the absolute pose of a 'target' and tries to make the drone follow the target using a PID control loop which actuates on the four motors of the drone. In our actual hardware system, we do not want to use an absolute pose system to follow an object so we will not use the absolute pose of the drone in order to path plan in the simulation either. However, this ability of the drone will be used to stabilize the drone since for the real hardware drone we use an optical flow sensor for this. When the drone receives a message from the /ballPos topic (contains information about the position of the ball relative to the drone) the drone will actuate in the following simple way. The y position of the ball relative to the 2d camera determines whether the ball is too far away or too close. In this scenario, the two front or rear motors will spin harder until the ball is in the middle of the screen again this is pitching motion. Whenever the x position of the ball is too high or low two options are considered to get the ball in the middle again. The drone could either roll (increase thrust for the lateral motors) or yaw (increase trust for diagonal motors). A combination of these is made so that the drone will both roll as well as yaw. With proper tuning of the amount of roll and yaw, the drone will behave somewhat like a human referee in the sense that it will try to minimize the distance to fly whilst keeping the camera stable.
Real game ball simulation
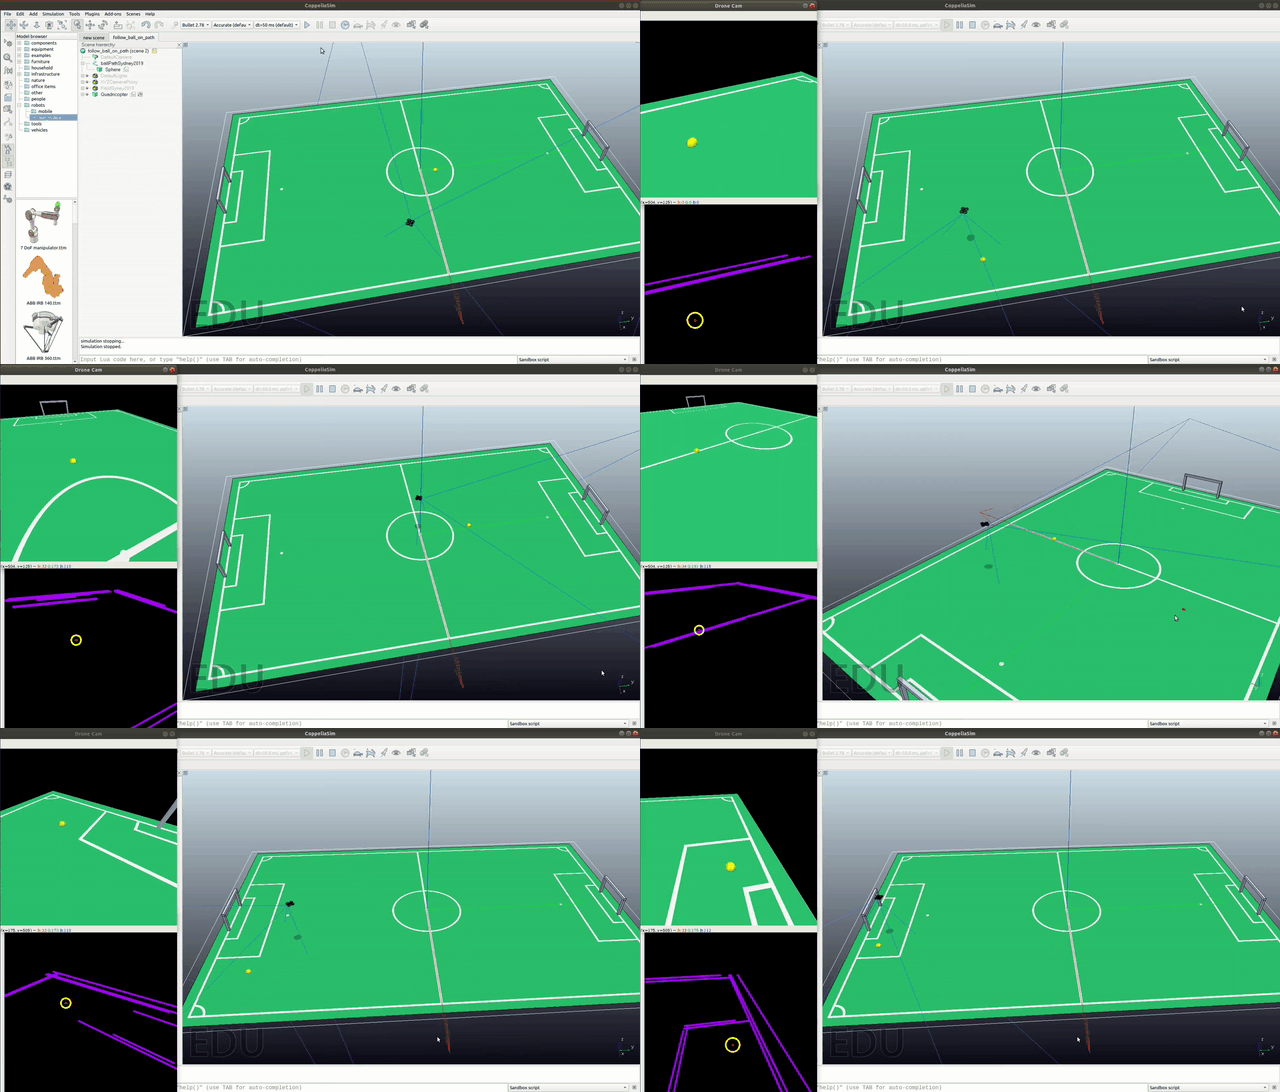
In order to check whether the drone would be able to follow the ball during a real game situation, the ball trajectory in the simulation was set to replicate the ball movement during the first 3 minutes of the final game of Robocup 2019 Sydney. The position of the ball was logged during the game by one of the Tech United turtles and was downsampled before importing it into the simulator. Although the trajectory of the ball in the simulation resembles that of the ball during the real game, certain quick ball movements cannot be seen in the simulation due to the downsampling. Nevertheless, it is a good measure of the functionality of the control of the drone in a real game situation.
Tutorial Simulation
After following this tutorial the reader should be able to run a basic simulation of a drone following a yellow object (ball) on a soccer field. This tutorial assumes the reader is on a Linux machine, has installed ROS, and is familiar with its basic functionalities. The next figure gives a sense of what is achieved after this tutorial (it can be clicked to show a video).

- Download and extract the downloadable zip file at the bottom of the page.
- Download CoppeliaSim (Edu): https://www.coppeliarobotics.com/downloads
- Install it and place the installation folder in a directory e.g. /home/CoppeliaSim/
- Follow the ROS setup for the simulator: https://www.coppeliarobotics.com/helpFiles/en/ros1Tutorial.htm. It does not have to be followed completely as long as ROS is configured for CoppeliaSim on your machine
- Initialize ROS by opening a terminal (ctrl+alt+t) and typing roscore
- Open CoppeliaSim by going to its folder e.g. cd /home/CoppeliaSim, open a terminal and type ./coppeliaSim.sh
- In the sim, file->open scene... and locate the follow_ball_on_path.ttt scene file from the extracted zip.
- Open the main script (orange paper under 'scene hierarchy'), find the line camp = sim.launchExecutable('/PATH/TO/FILE/ball_detector.py') and fill in the path to the extracted zip. Do the same for the line_detector.py and merge_cam.py files.
- All is set, press the play button to start the simulation.
- A window should pop up with the raw camera feed as well as with the processed camera feed and the quadcopter should start to follow the ball!
Conclusion
conclusion
Future Work
future work which lines is which which rules and how
possible solutions
suggestions
testing whether scalable
test what we achieved in real life, already think about what is most likely to go wrong
project reflection
team reflection, important decisions. what could we have done differently had to set harder 'deadlines' and progression goals
References
references
Downloads
- Simulation Files: File:Honors drone v-rep 1105.zip
- Empty Robot Soccer Field for CoppeliaSim(V-rep): File:V-rep soccerfield.zip