PRE2019 3 Group4 Printing
Printing
First of all the case was divided in 3 separate parts. This was done to make the printing easier since each part now properly fits on the base plate.
Our printing contact is located in Eindhoven. He had his printer placed at his student-home. The first problem we faced was that the filament we bought didn’t stick properly on the base-plate of the printer. In this case, often something like hairspray is used. But even this wouldn’t make the print stick. The ultimate solution for this was to cover the base plate with sticky tape, which solved this problem.
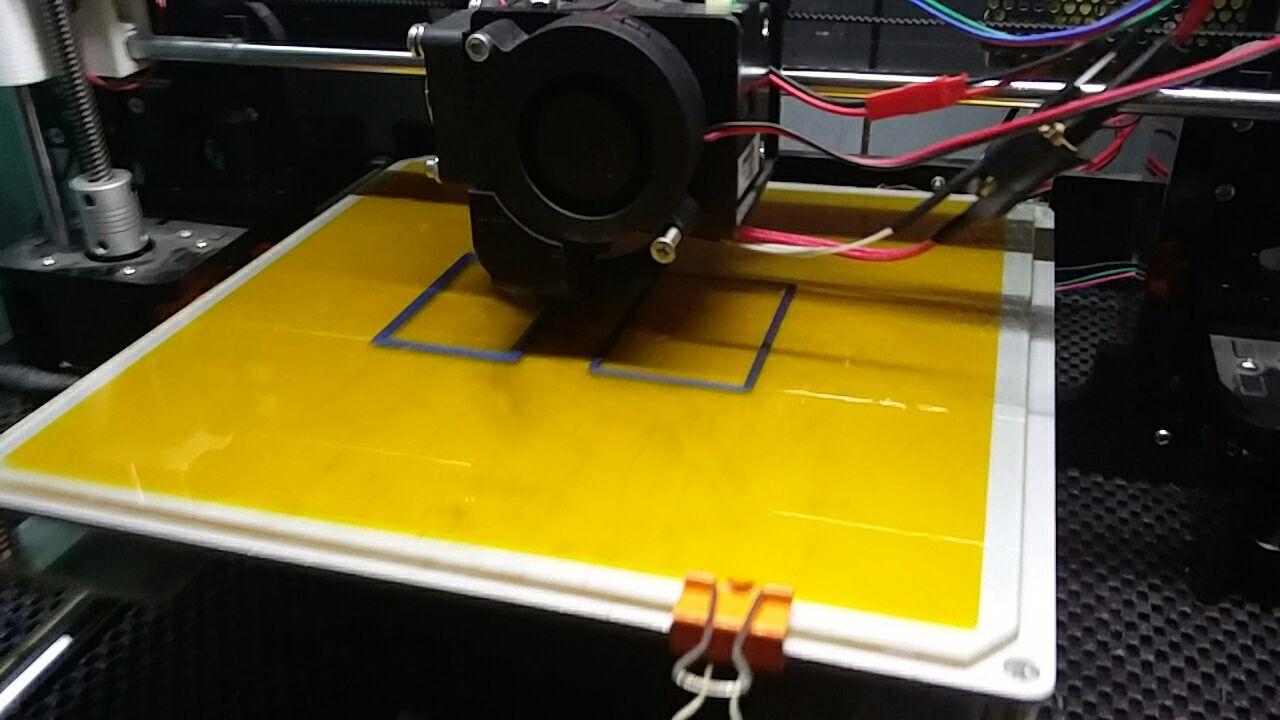
Soon after we finished a few parts we noticed that the printer head started leaking causes filament drops to be spread around the print. This is very bad, since it makes the print quite messy. This problem didn’t have an easy solution since the print head probably had to be replaced or repaired. Therefore we accepted this short coming.
But with the final case-part print the leaking filament caused the baseplate to get loose messing up the complete print. Such a parts take around 12 hours to print and due to the coronavirus traveling to/from Brabant became more doubtful. Therefore we all traveled home because of which the part couldn’t be reprinted.
So we had a problem. The printing was nearly complete except 1 part of the case. Since our device is really a prototype or proof of concept, we concluded that aesthetics weren’t the most important part and we would try to make the final case part out of wood.
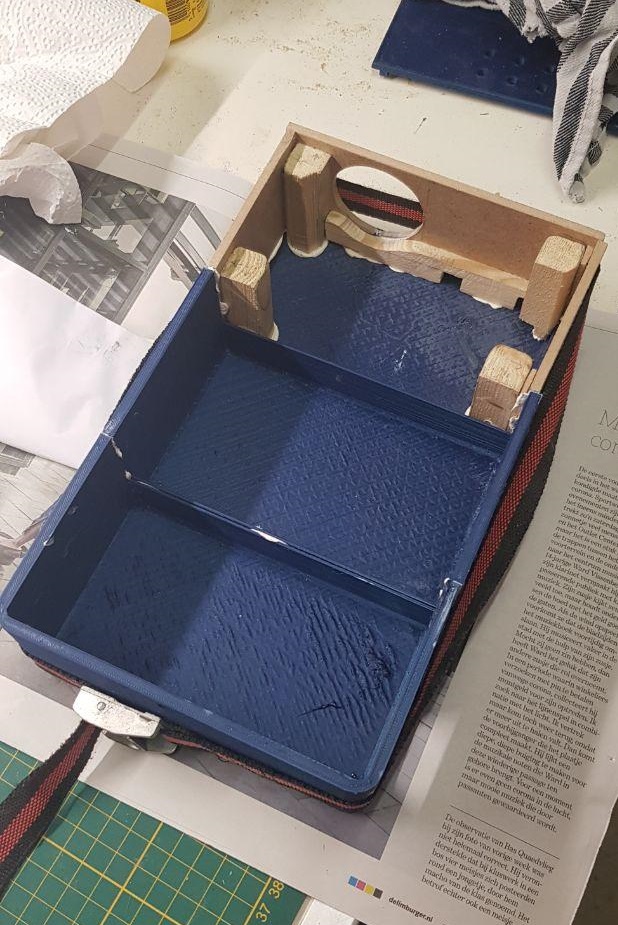
Of the last part, we only had the base. Everything else failed. We used this part to built the wooden casing on top of. Our idea was the following: We glue 4 pillars to the plastic case which small beams in between. And against it small MDF plates would be placed to give the case its shape.
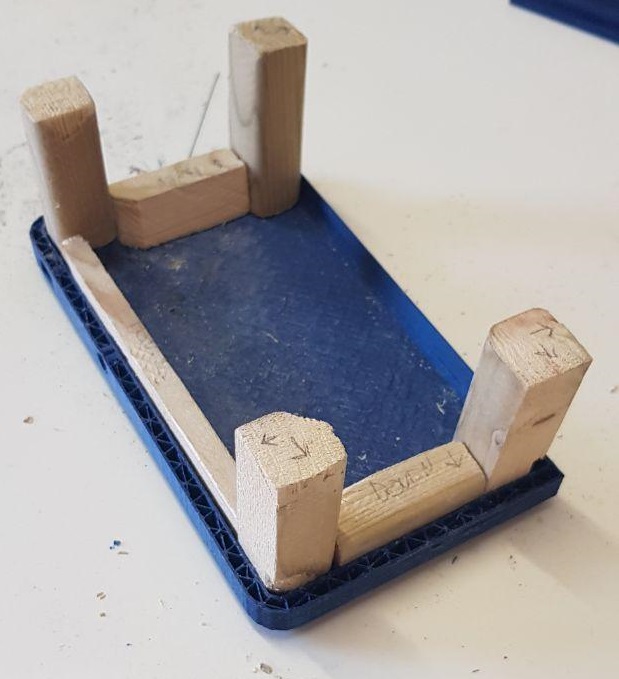
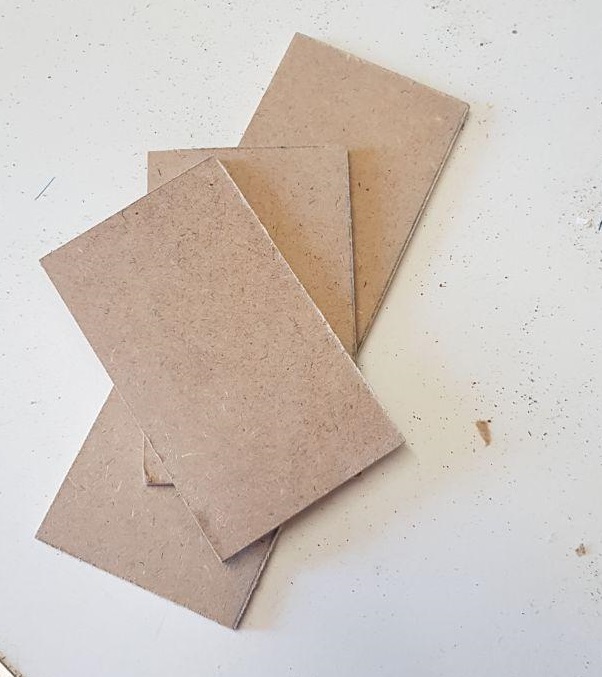
This part of the case should also house the speaker. Therefore we cut a round hole in one of the MDF plates.
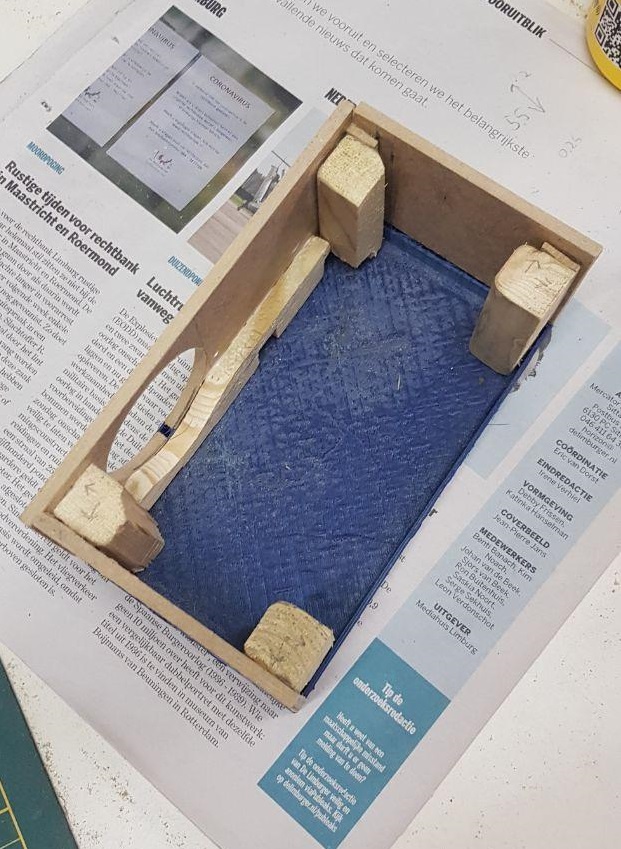
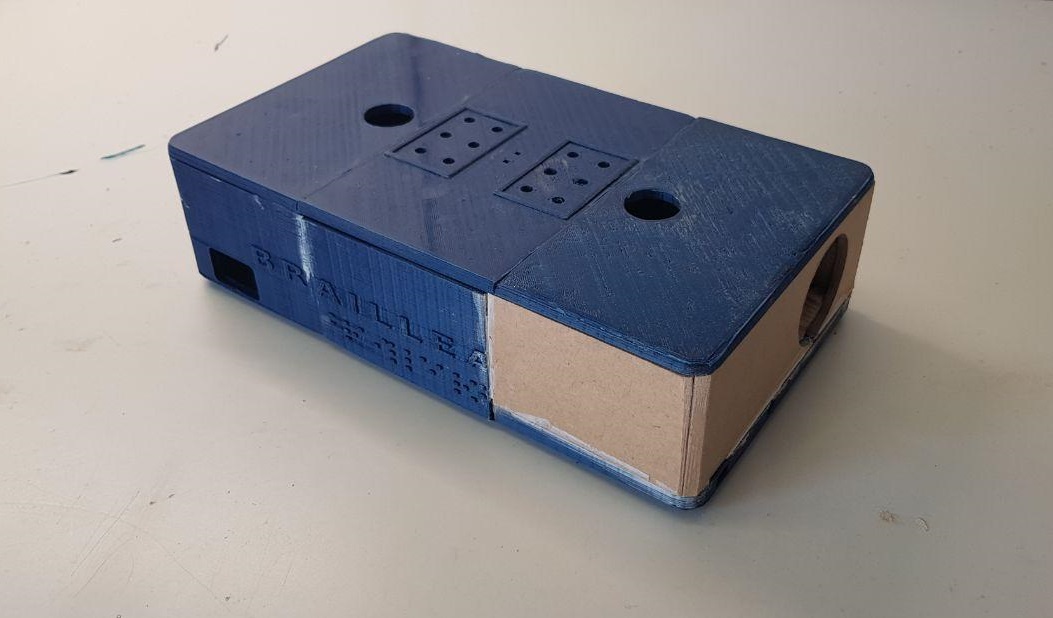
All wooden parts where there connected using wood glue. Next the wooden frame was connected with strong adhesive to the plastic base, which was then connected to the other plastic parts as shown in the image.
