Embedded Motion Control 2019 Group 8: Difference between revisions
| Line 38: | Line 38: | ||
= Escape Room Challenge = | = Escape Room Challenge = | ||
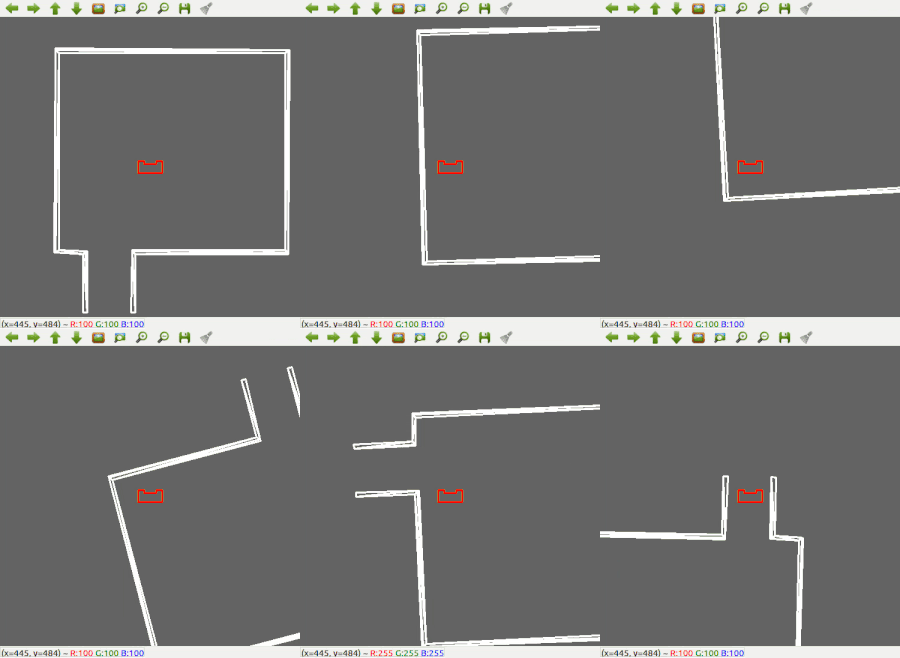
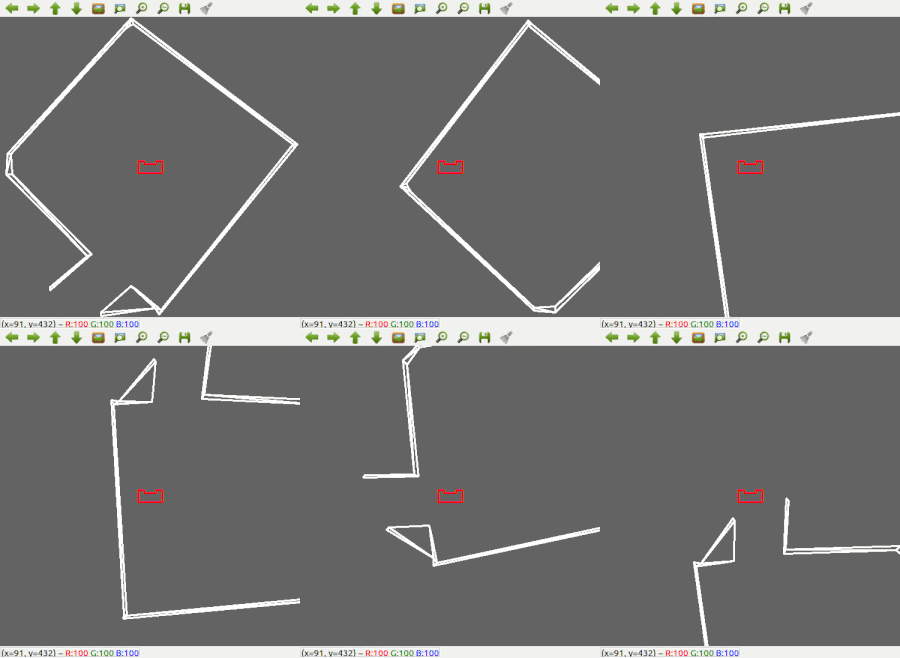
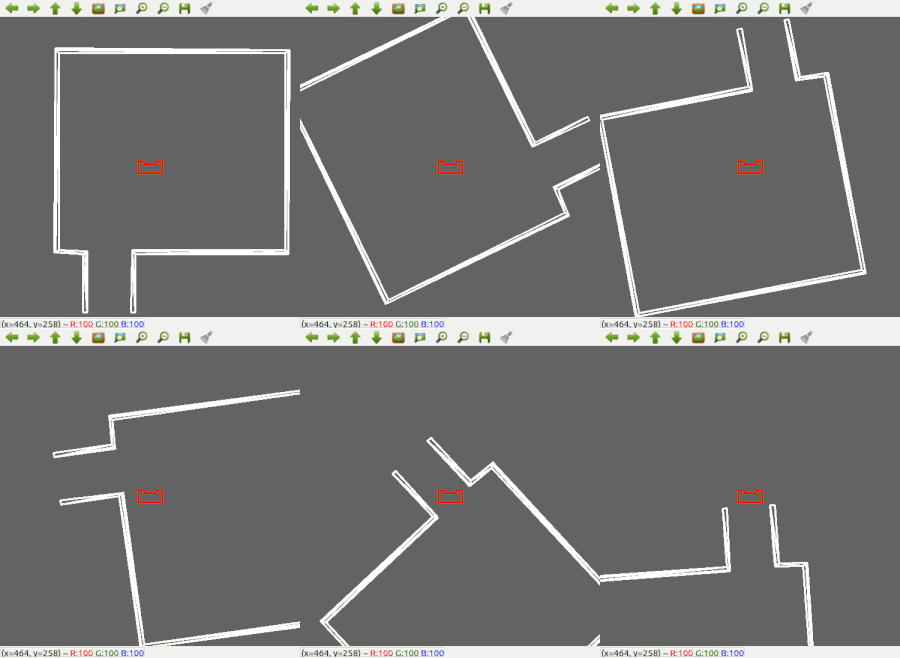
[[File:EscapeRoom1.gif|frame|Figure 2: Test 1 in simulator using wall following only.]] [[File:EscapeRoom2.gif|frame|Figure 3: Test 2 in simulator using wall following only.]] [[File:Scan1.gif|frame|200px| | [[File:EscapeRoom1.gif|frame|Figure 2: Test 1 in simulator using wall following only.]] [[File:EscapeRoom2.gif|frame|Figure 3: Test 2 in simulator using wall following only.]] [[File:Scan1.gif|frame|200px|right|Figure 4: Test 1 in simulator using wall following and scanning for an exit.]] | ||
== Design Document == | == Design Document == | ||
Revision as of 11:48, 14 June 2019
Group Members
| Name | Student ID | |
|---|---|---|
| Stan (C.M.) den Hartog | 0953184 | c.m.d.hartog@student.tue.nl |
| Elise (E.D.T.) Verhees | 0950109 | e.d.t.verhees@student.tue.nl |
| Rob (R.J.G.) Dorussen | 0968849 | r.j.g.dorussen@student.tue.nl |
| Gosse (G.) Bijlenga | 0950642 | g.bijlenga@student.tue.nl |
| Max (M.J.) van Haren | 0953564 | m.j.v.haren@student.tue.nl |
Introduction
In the course Embedded Motion Control (EMC) the software design of an autonomous robot is given as an objective. The implementation of the software skills to fulfill real-life robotic tasks in real-time situations, takes into account both planning and basic programming. For this assignment, two challenges are given.
The first challenge is the Escape Room Challenge, in which the robot is placed in a room with a single exit with a random orientation. Upon placement, the robot should autonomously find the exit, move towards the exit and exit the room without touching the surroundings. The second challenge is the Hospital Challenge, in which the robot should autonomously function within a hospital, based on a specific map. The goal for the robot is to go from cabinet to cabinet, while on the way encountering random disturbances as deemed normal in a hospital.
This wiki page will give an overview of the designs for both the Escape Room and Hospital challenges.
Escape Room Challenge
Design Document
For the Escape Room Challenge a design document has been made. Hererin, the requirements, specifications, components, interfaces and functions can be found within. The file can be found here: File:Design document.pdf
Escape Room Execution
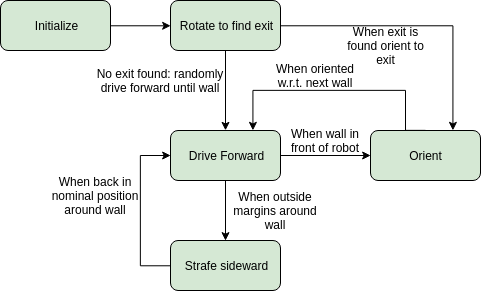
A short summary of the actions the robot will undertake can be seen in the State machine showed below.
Wall Following
Since the most robust solution is to follow a wall, this is chosen to be implemented first. The decision has been made to make the robot always keep the wall on its left side. Good results are achieved in the 2 random maps that are shown in Figure 2 and 3.
Scanning for an exit
Next, the robot is made a bit 'smarter'; It will first scan the room for an exit. If an exit is found, it will stop rotating, rotate a bit back, to make sure it will head for the left wall, start heading for the exit, and then continue with the wall following procedure to exit the corridor. The result using both wall following and scanning for an exit can be seen in Figure 4.
Escape Room Result
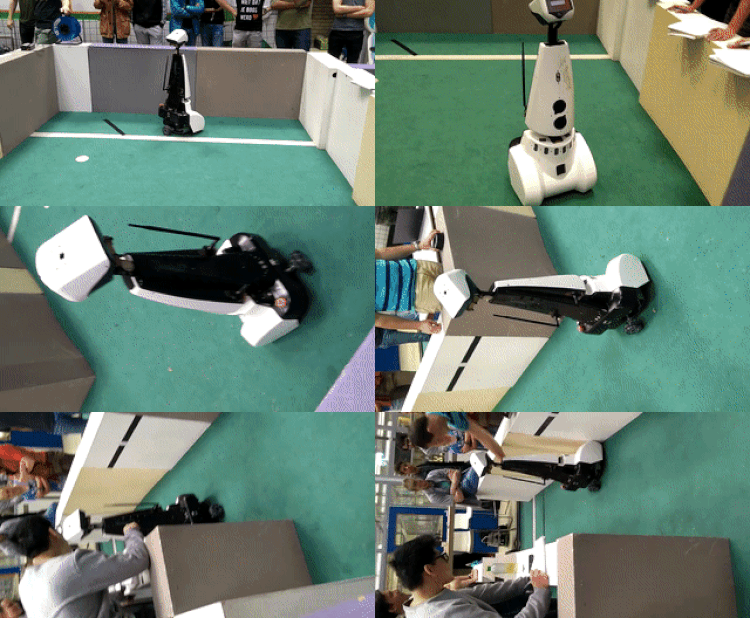
The result in the escape room challenge can be seen in Figure 5.
Hospital Challenge
Hospital Challenge Brainstorm Session
To prepare for the hospital session, a brainstorm session is done and several new requirements, specifications, functions and components are thought of.
The following diagram is the result of this brainstorm session.
Localization
Route planning
State machine
Object detection/avoidance
In order to be able to drive from waypoint to waypoint without any collisions, there are two different options hardcoded. The first option is when driving in open space and the second options is when driving through a narrow opening, such as a door. Each case will be explained below.
Open space object avoidance
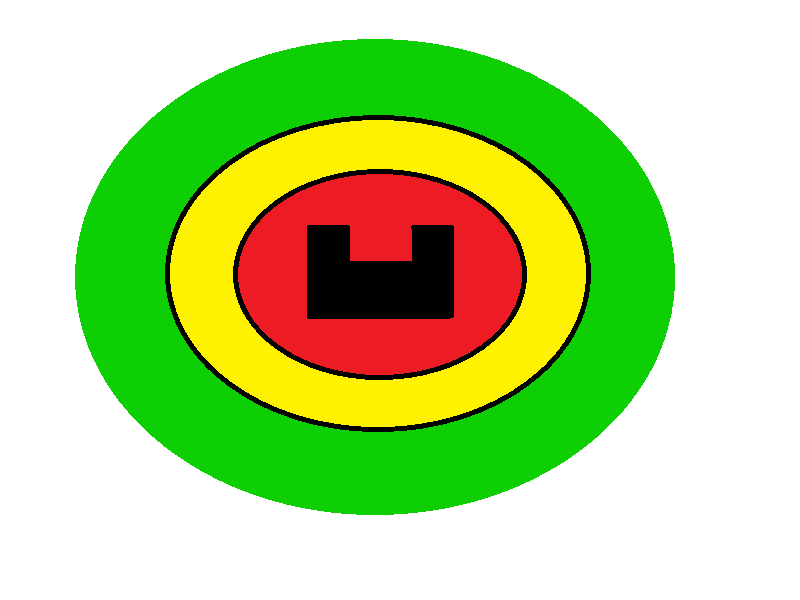
In the open space, objects can be encountered, which could be either dynamic objects, such as people walking around, and static objects, such as cupboards. In order for PICO to know how to act upon sensing an object nearby, an area around PICO is taken as seen in Figure x.
If an object is in the green space, which is more than half a meter away from PICO, PICO will not react at all as there is no interference with the foreseeable path of PICO. Once an object enters the yellow space, PICO pauses and tests hypotheses. The first hypothesis to be tested is whether it is a static dynamic object. If the shortest distance to the sensed object stays within a minimum angle difference and minimum difference in shortest distance, the object is assumed to stand still. If the object is not in the direction that PICO is desired to move in, PICO will continue on its path. If the object is in the way, PICO will sense the quadrant where the static object is in, and move to the open space in the opposing quadrant, until the object is no longer within the circle and the path will be free.
The second set of hypotheses to be tested is the direction of the dynamic object. PICO measures the angle and magnitude of the minimum distance to the object and saves this in the world model. PICO pauses for a second and measures the magnitude and angle of the minimum distance again. If the difference in angle of the minimum distance differs minimally, whereas the minimum distance decreases/increases, the hypotheses can be made that the object is moving closer/further away. If the object is moving closer, PICO will check which quadrant the object is entering, and check for free space in the opposing quadrant. If there is free space, PICO will move into that quadrant until the threat is no longer moving towards PICO. If the object is moving further away, PICO waits until the object exits the circle and continues driving. Next, if the difference in angle of the minimum distance changes after the waiting time, whereas the minimum distance can change, the object is assumed to move across from PICO, without hitting PICO. PICO then waits until the object moves across from the path that PICO desires and PICO then continues driving.
Once an object crosses the yellow circle, by for example unexpected behavior by dynamic objects, and enters the red circle, PICO does not test hypotheses. PICO checks in which quadrant the object enters, and checks the minimum distance in the opposing quadrant and drives there if said quadrant is free. If the opposing quadrant is not free, PICO will drive backwards until the object is no longer in the red circle, and until there is free space in the opposing quadrant. Here it is assumed that the path that PICO just travelled is free to drive backwards.
